 Halfdot
Getting started
What it needs
A Mac with Apple silicon (M1 or later) and macOS 14 Sonoma or later. Intel Macs can't run it. To check yours, open the Apple menu, choose About This Mac and look at Chip.
Install
- Get the free version: enter your email address at our store, Lemon Squeezy. It costs nothing. The page after it, and the email that follows, have a Download Halfdot button.
- Open
Halfdot-1.0.dmgfrom your Downloads. - Drag Halfdot onto the Applications folder in the same window.
- Open Halfdot from Applications.
Halfdot is signed with an Apple Developer ID and notarized by Apple. The first time, macOS asks whether you want to open an app downloaded from the internet: click Open.
Check the download
To check that your copy is the one we made, open Terminal and run spctl -a -vv /Applications/Halfdot.app. It should say accepted, source=Notarized Developer ID and origin=Developer ID Application: Amit Karta (KF9SV6Z34L). KF9SV6Z34L is our Team ID.
The disk image, Halfdot-1.0.dmg (about 193 MB, 192,949,802 bytes), has this SHA-256: 7c5e3865cc02ca21ae38fd09cae5711f41cc7d531a1ccf458ecc44aa3b8b8b2b. To compare yours, run shasum -a 256 ~/Downloads/Halfdot-1.0.dmg.
The first opening
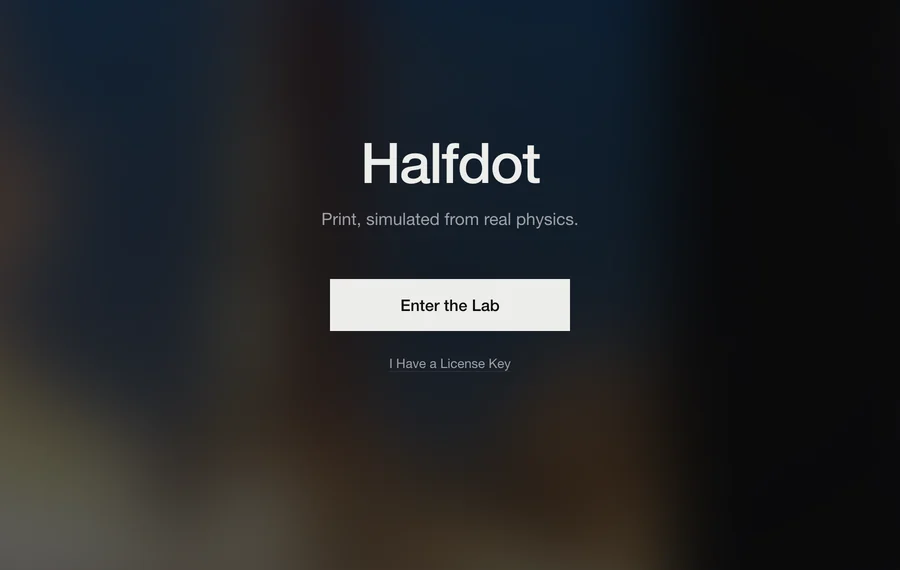
Halfdot opens on its name and one line: Print, simulated from real physics. Click Enter the Lab. If you already bought the full version, click I Have a License Key instead and paste the key.
A short tour follows. To see it again, choose Help › Tour.
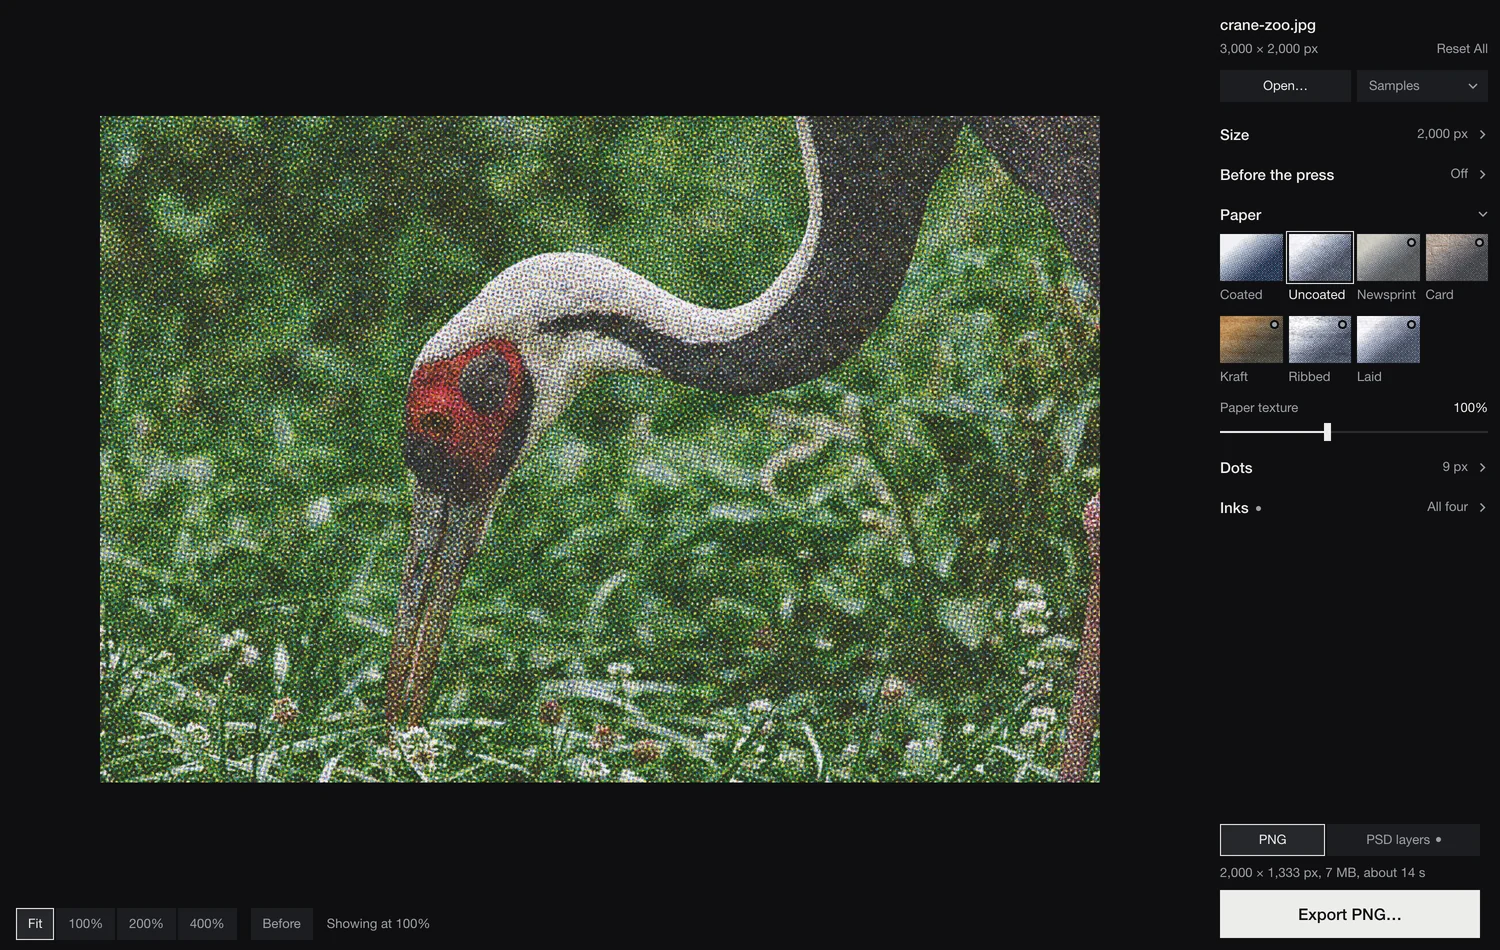
Open a picture
- Open… in the panel, or File › Open Picture… (⌘O).
- Drag a picture onto the window, or onto Halfdot in the Dock.
- File › Open Recent.
- Samples, in the panel: ten sample pictures from public archives, in the public domain or under free licences, to try it out.
JPEG, PNG and TIFF open directly. Other pictures your Mac can read, such as iPhone photos, usually open too. When a file can't be opened, Halfdot says so: save it as a JPEG from Photos or Preview, then open that.
Undo and reset
Edit › Undo (⌘Z) and Redo (⇧⌘Z). Reset All, under the picture's name, puts every setting back to its starting value; the picture and the zoom stay. Double-click any slider to reset just that one.
The view
Every change shows on the whole picture first. The zoom bar under the print has Fit, 100%, 200% and 400%; the View menu adds 25% and 50%.
- Double-click
- Switches between 100% and the whole picture.
- 100%
- One pixel of the file on one pixel of the screen. At 100%, what you see is the file at its real pixel size.
- Drag
- Drag the big view to look around. When zoomed in, the arrow keys move around too.
- The small picture
- When zoomed in, a small view of the whole print appears: the whole picture as it prints. Click or drag it to choose what the zoom shows.
- Before
- Hold to see the original picture. A quick click keeps it on. The key is B.
- Showing at
- At Fit, the bar says how large the print is shown. When the dots are too small to see at that size, it adds: Dots show from 100%.
Keys
| Key | Does |
|---|---|
| ⌘0 | Fit in Window |
| ⌘1 · ⌘2 · ⌘4 | 100% · 200% · 400% |
| ⌘= · ⌘- | Zoom In · Zoom Out |
| B | Before, while held |
| ⌘O · ⌘E | Open Picture… · Export… |
| ⌘Z · ⇧⌘Z | Undo · Redo |
Inks
Before a single dot is drawn, the picture is separated into four inks: cyan, magenta, yellow and black, each a plate of its own. Black carries the darkest tones. On Uncoated it lays down nothing in the highlights, 12.6% in a middle grey and 89% in a deep black.
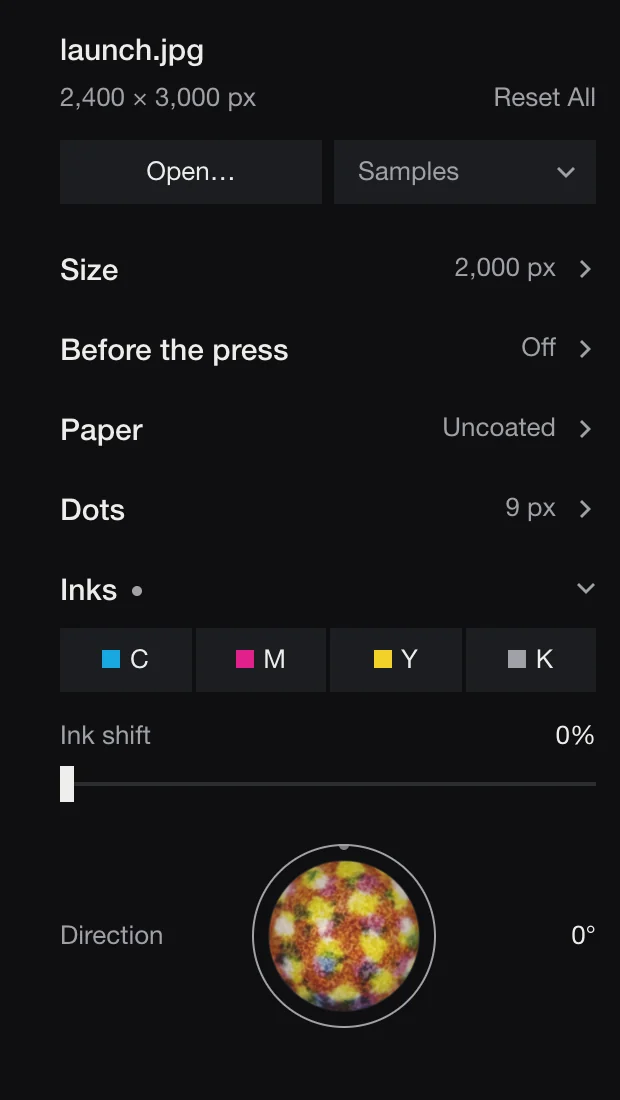
- C · M · Y · K
- Click an ink to leave it out, for a one-, two- or three-colour job. Click it again to bring it back.
- Ink shift
- How far the inks slip apart, as a share of the dot spacing. A little is a press on a good day; push it, and you get a fast press on a bad one. Black stays put, as on a press where the other plates are set against it.
- Direction · the lens
- The simulated print under a microscope, at the middle of the view. The bar is 100 µm. Hold the lens and drag right or left to choose which way the inks slip, or click the ring. ⇧ turns finer. Double-click to reset.
Paper
Each paper prints the picture again: its white, its grain, how it takes ink. Six of the seven are made from scans and photographs of real paper; the surface of Coated is calculated. Coated and Uncoated print with colour tables calculated from Fogra's characterisation data, Newsprint with our own table built on the uncoated data, and Card, Kraft, Ribbed and Laid with the Uncoated table.
| Paper | In the app | Ink spread · light | Exports in |
|---|---|---|---|
| Coated | Smooth and slightly glossy, like a magazine page. | 8 µm · 25 µm | Free and full |
| Uncoated | Plain matte paper, like a book page. | 15 µm · 35 µm | Free and full |
| Newsprint | Thin, greyish newspaper stock. Ink spreads and softens. | 43 µm · 45 µm | Full |
| Card | Brown card with a mottled surface, like packaging. | 20 µm · 40 µm | Full |
| Kraft | Brown kraft paper with ribs running through it. | 20 µm · 40 µm | Full |
| Ribbed | White paper with ribs running through it. | 15 µm · 35 µm | Full |
| Laid | White paper with fine parallel lines, like old letterhead. | 15 µm · 35 µm | Full |
Ink spread is how far the ink spreads past each dot. Light is how far light travels inside the paper before it comes back out, which makes every dot look a little bigger than it is.
- Paper texture
- How much of the sheet shows through.
- Stripe spacing
- On Kraft, Ribbed and Laid, how far apart the ribs or lines sit, from 0.5 to 10 mm. Kraft and Ribbed start at 2.88 mm, Laid at 1 mm. Other papers show None.
With Press-ready on, the list keeps the three papers with a printing condition behind them (Coated, Uncoated, Newsprint), and Paper texture is hidden: the real sheet brings its own.
Dots
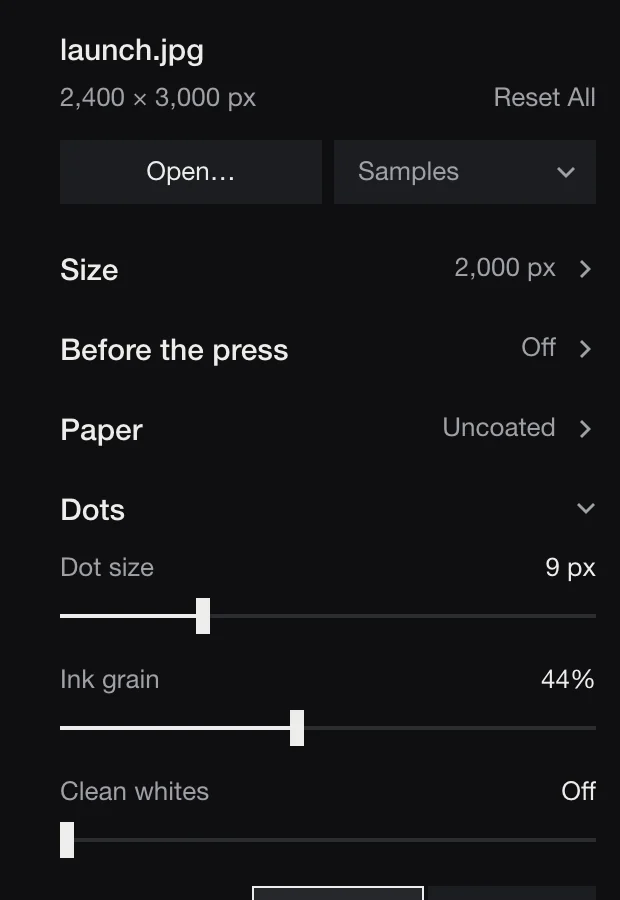
- Dot size
- How far apart the dots sit, in pixels of your file, from 4 to 85 px. Its tip says how many dots fit across the picture. Off Press-ready, the print is seen up close at the paper's own ruling, as under a loupe. With Press-ready on, the fold shows the ruling in lines per inch on paper, for example
9 px, 33 lpi. - Ink grain
- Natural is the grain of real print. Slide up for rougher ink.
- Clean whites
- The lightest tones stay bare paper, with no dots. Off prints them as real tints.
- Screen angles
- Four, as on a press: cyan 15°, magenta 75°, yellow 0°, black 45°, the angles that make rosettes. One puts all four inks on a single angle: the plates stack on one grid, so no rosette forms.
For scale: a newspaper prints at around 85 lines per inch, a magazine at 133 to 150.
Before the press
What a platemaker does first.
- Blacks
- The darkest tones go to solid ink, with no paper showing between the dots. Off prints them as the darkest tints.
- Contrast
- The middle tones along an S curve: right for more contrast, left for less. Black and white stay where they are.
- Sharpen
- More of the sharpening a platemaker gives a picture before the screen, at the size of the dots, so fine detail holds through them.
Size and export
Size
- File width
- How many pixels wide the file will be: Same as the picture, or 2,000 to 11,000 px. Together with the dot size, it decides how many dots fit across the picture. The free version exports up to 2,000 px on the long side.
- Press-ready
- Turn on when this file goes to a printer: dots and ink at the size it prints, the colour calibrated to that ruling, and no simulated paper, since the real sheet brings its own. Off, the print keeps its close-up look.
- Print width
- Appears with Press-ready. How wide the print is on paper, with a resolution from 72 to 600 dpi. Click the number to type a width in cm, mm, inches or px. Print width and file width follow each other: the one you set last stays.
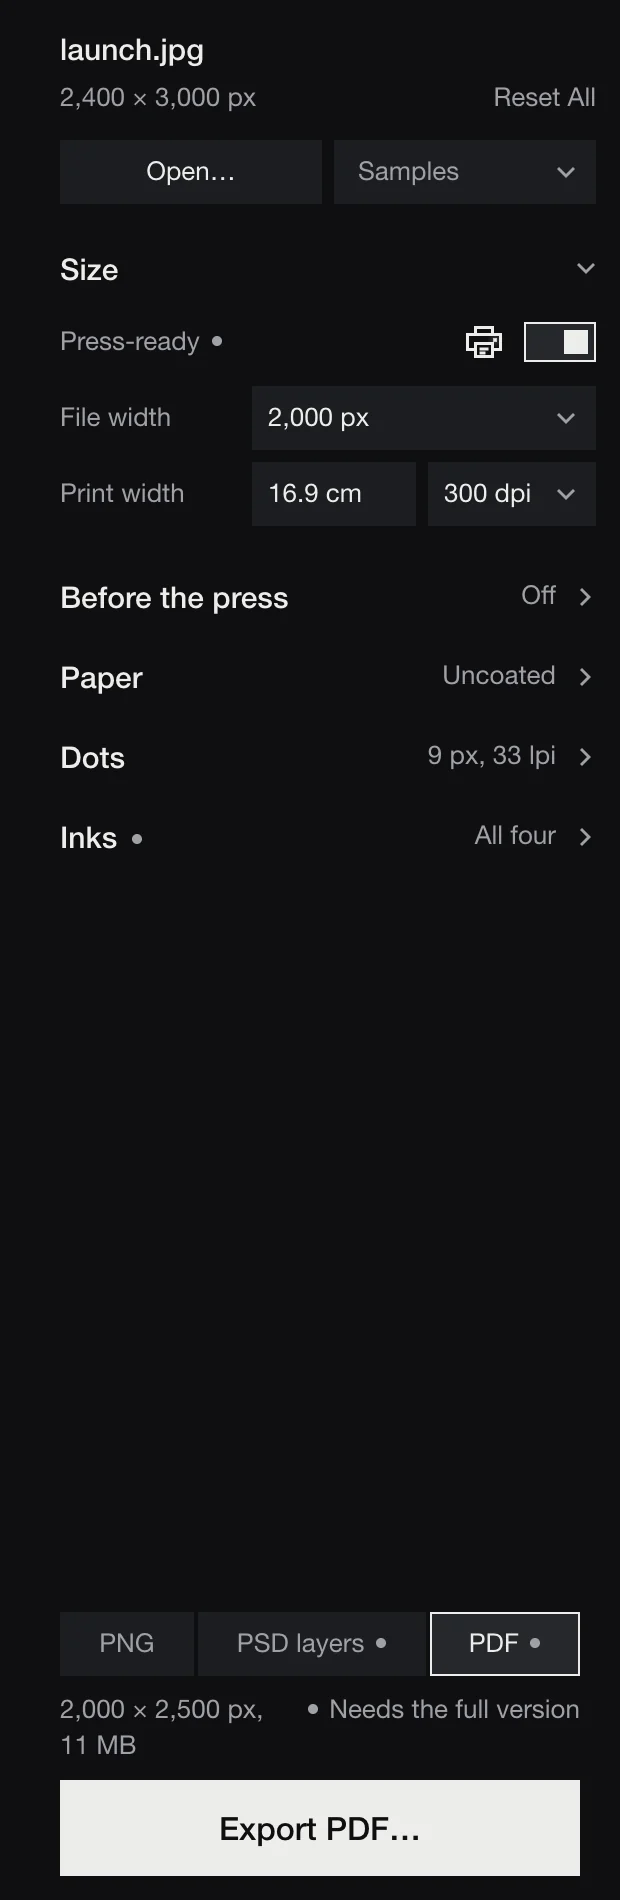
The three files
- PNG
- One flat picture.
- PSD layers
- A Photoshop file at the export size: a Paper layer, then Yellow, Magenta, Cyan and Black, each a Multiply layer with its dots as pixels. Turn a layer off to see the print without that ink. Very large files are saved as PSB, Photoshop's large format. Halfdot checks for free disk space first, since a file in layers is large.
- Made with Press-ready on: a PDF/X-1a with the four plates as one CMYK picture at the size it prints, 3 mm of bleed, crop marks outside the bleed, and the printing condition named inside the file (FOGRA39, FOGRA29 or Japan Color 2002 Newspaper), so the print shop knows what the colour was made for. It is a simulation file, not a proof: confirm with your printer and ask for a proof before a run.
Exporting
- Choose PNG, PSD layers or PDF under the panel. The line below says the size, the file size and about how long it will take.
- Click Export PNG… (or PSD, or PDF), or press ⌘E, and choose where to save.
- The whole file prints. Cancel works until the screen says Printed.
- Then: Show in Finder. A file in layers also gets Open in Photoshop (or Open when Photoshop isn't installed); a PDF gets Open.
The suggested name says what it is: launch print uncoated 9px.png. A file can be up to 200 megapixels.
License
Try everything on screen. What has a small dot exports with the full version, one license key, for good.
| Free | Full version · $29 once | |
|---|---|---|
| On screen | Every paper and setting | Every paper and setting |
| Exports | PNG | PNG, PSD layers, PDF |
| File width | Up to 2,000 px, long side | Up to 11,000 px |
| Papers | Coated, Uncoated | All seven |
| Inks | All four, in register | Ink shift, inks left out |
| Press-ready | On screen only | Yes, including the PDF |
| Use | Personal, non-commercial projects | Personal and commercial work |
| Time limit · watermark | None · none | None · none |
When Export meets a setting the free version doesn't print, Halfdot says what needs the full version. You can buy it there, or click Or Export with Free Settings, which lists what will change (for example: Coated paper, 2,000 px, no ink shift, PNG).
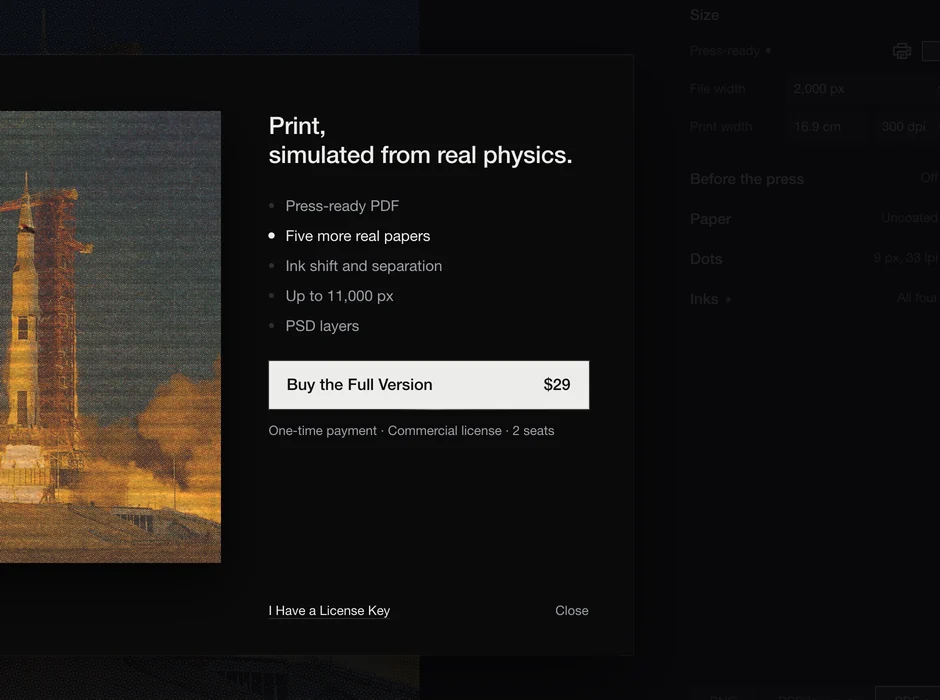
Buy and activate
The price, the seats and what the full version adds are in Price.
- Choose Halfdot › Buy the Full Version… and click Buy the Full Version. The checkout opens in your browser; the store is Lemon Squeezy, the merchant of record.
- Your license key comes in the receipt email.
- Choose Halfdot › Enter License Key… (or I Have a License Key on the first opening), paste the key and click Activate.
Activation needs the internet once. Then the full version works offline, and your pictures never leave this Mac. About once every 30 days, while online, Halfdot quietly checks the key; being offline never takes anything away.
Two seats
One key covers 2 seats: a seat is one Mac you own or use, with the key active on it. To move a seat, choose Halfdot › License… on the old Mac and click Deactivate This Mac…. Exports go back to the free settings, and the key can be used on another Mac.
If a key is already active on both seats, Halfdot says so: deactivate one in Halfdot › License…, or write to us.
Lost key
It's in the receipt email, and in My Orders at Lemon Squeezy. Halfdot › License… also links to Your orders.
Updates and refunds
Updates are free for all of version 1.
Purchases are final: the free version lets you try every feature on screen before you buy. If something goes wrong with the purchase itself (a double charge, or a key that won't activate and we can't fix), write to contact@amitkarta.com within 30 days and we'll refund it. Where local law gives you a right to a refund, you have it. See the license agreement, section 7.
When something goes wrong
Halfdot's messages say what happened and what to do. The ones you may meet:
| Halfdot says | What to do |
|---|---|
| … cannot be opened here. Save it as a JPEG from Photos or Preview, then open that. | RAW, PDF, PSD, SVG and some other files can't be opened. Save a JPEG and open that. |
| … could not be read. It may be damaged. | Try another copy of the file. |
| … px is too large to print here. Choose a smaller file width. | A print can be up to 200 megapixels. Lower File width. |
| Not enough free space. This file in layers needs about … | Free some disk space, or export a PNG. |
| Another print is still running. Wait for it to finish. | One print at a time. |
| That folder no longer exists. Choose another folder. | Export again and pick a folder. |
| Cannot reach the store. Check your connection and try again. | Activation and deactivation need the internet. |
| This key was not accepted. Check it against your receipt. | Copy the key again from the receipt email. |
| This key is for a different product. | Use the Halfdot key from your receipt. |
Questions
- Do my pictures leave my Mac?
- No. Pictures, prints and settings stay on your Mac. The free version sends nothing over the internet, apart from a weekly check of one small file on halfdot.app for a new version. The full version sends only your license key and a random device label to the store's license service, to activate, deactivate and check the key. Details in Privacy.
- Why does the free version need my email?
- To get the free version, you enter your email address in a short checkout at Lemon Squeezy, our store; it costs nothing. The store emails you the download link and tells us your email address and country. We use your address to send the link and to answer you if you write to us; we don't sell it or pass it on. Details in Privacy.
- Can I sell what I make?
- Yes, with the full version. Prints and files you make are yours, with no fee and no credit. The free version is for personal, non-commercial projects.
- Is it a proofing system?
- No. It simulates how print looks. Colours on screen or in a print can differ from a real press: ask your printer for a proof before a print run.
- Where is the log?
~/Library/Logs/com.amitkarta.halftoneprolab/server.log. Nothing sends it; support may ask for it, and it can contain file names.- Support
- Help › Contact Support, or contact@amitkarta.com. Help › Credits and Licenses lists the work of others inside the app.
Coming
We're working on a Photoshop plugin and an animation mode. No dates yet, and no promise that they will be released.
Launch offer: if we release either of them, every full-version license bought on or before 31 December 2026 gets it at no extra cost (see the license agreement, section 3).